
Notes: Overview
Notes are great way to provide your group with all sorts of information, such as:
- Reminders
- Action items
- Upcoming events
- Quick links
- Summaries
There are three types of notes:
- AI-Generated Notes that refresh automatically
- AI-Generated Notes that do not refresh automatically
- Hand Written Notes
AI-Generated Notes
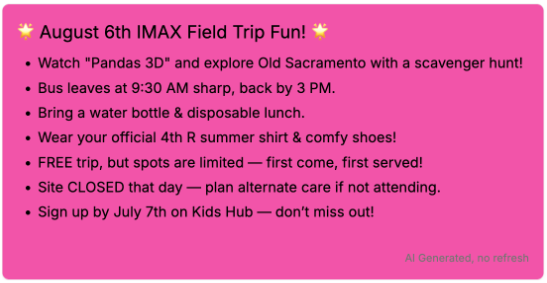
AI-Generated Notes are drafted by the Looplet AI assistant from a prompt that you write.
- The prompt tells the assistant what the note should be about.
- The AI assistant then generates the note using information already added to the Loop and/or information you provide in the prompt.
Here's an example:
Hand Written Notes
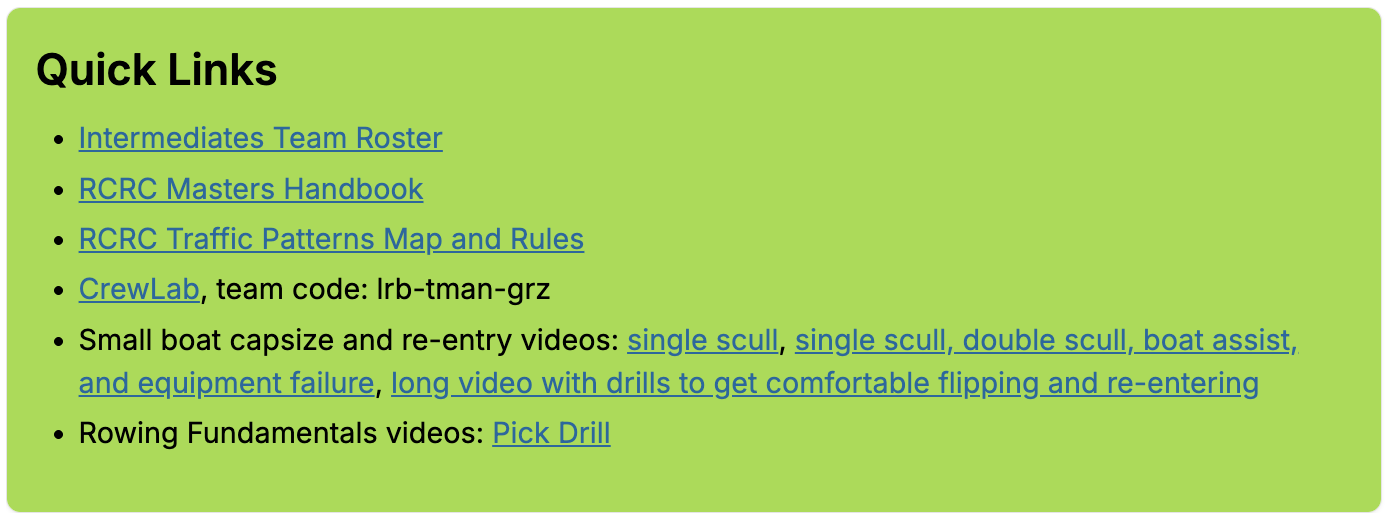
Hand Written Notes are notes that you write completely on your own using the Looplet note editor.
- You can adjust the headings, do basic formatting, control colors, add links, and include emojis.
- You can also copy/paste content from somewhere else into the note.
Here's an example:
To see more examples of notes and how to create them, visit Notes Tips and Tricks.
Create an AI-generated Note
- Select + Create AI Generated Note or + Create Note then AI Generated Note.
- In the Generate AI Note section, enter text in the Prompt for AI field. This tells the AI assistant what to put in the note. You can also ask for specific tones. Here are some example prompts:
- Summarize upcoming events for this month and next with fun emojis.
- Make a note with all the dates school is closed this year.
- Summarize the key action items that need to be completed before the next meeting. Use a professional tone.
- Click Generate Content. The AI assistant will pull the applicable information from your Loop Library and prompt to create a custom note.
- View the note. If you like it, great! Move on to the next step. If you want changes, you can:
- Click Generate Content again. The AI assistant will try again.
- Update your prompt, then click Generate Content again. For example, you may want to include specific information in the prompt that the note should contain.
- Click Edit to edit the note directly.
- Note that if you edit information in an AI-generated note and the note is set to automatically refresh, your edits will be lost when the note regenerates next.
- Select the Refresh Frequency for the Note. This controls how often, if ever, the AI assistant will regenerate your note automatically using the same prompt.
Choose from:- Update Daily (Each Morning)
- Great for detailed info that changes daily, such as appointments, events, to-dos, action items, and activities
- Update Weekly (On Sunday Mornings)
- Great for higher-level information that changes weekly, such as menus, schedules, and chores
- Update Monthly (On the 1st)
- Great for high-level information that changes monthly, such as monthly snap-shots, holidays, birthdays and anniversaries
- Never
- Great for one-off notes or information that you want to stay exactly as-is
- Update Daily (Each Morning)
- Optional: If there is a link you'd like to appear in your note, input the URL and a name to display in the hyperlink field.
- Click + to add the link. If you do not click +, the link will not be saved.
- These links will not regenerate and will always display at the bottom of your note.
- Optional: Choose a Start Date and/or End Date for your note.
- This is useful if you are planning out your notes in advance or there is a specific end date for your note.
- If you do not choose a start date, the note will start now.
- If you do not choose an end date, the note will show until you manually remove it.
- Click Save Note.
Create a Hand Written Note
- Select + Create Hand Written Note or + Create Note then Hand Written Note.
- Write or copy/paste your note text into the box.
- Optional: Add images. This image will display in your note.
- Add the image URL into the Image URL field.
- Optional: Add links. These links will display at the end of your note.
- If there is a link you'd like to appear in your note, input the URL and a name to display in the hyperlink.
- Click + to add the link. If you do not click +, the link will not be saved.
- Note that you can also add a url directly in the note and click the "link" icon in the editor menu to turn it into a hyperlink. You must input the link URL in the pop-up.
- Optional: choose a Start Date and/or End Date for your note.
- This is useful if you are planning out your notes in advance or there is a specific end date for your note.
- If you do not choose a start date, the note will start now.
- If you do not choose an end date, the note will show until you manually remove it.
- Click Save Note.
Examples
To see example notes and how to create them, visit Notes Tips and Tricks.